What’s Changed in Symantec Encryption Desktop for Mac OS X 10.3.2 MP6
General
• Resolved incompatibilities with Apple Mac OS X 10.10 systems.
Known issues
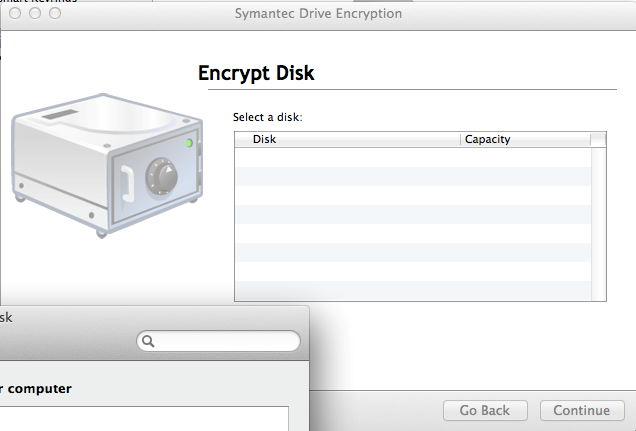
• Compatibility with CoreStorage: CoreStorage may be applied, by default, to your Mac OS X 10.10 drives. Symantec Encryption Desktop is not compatible with CoreStorage drives. In order to install Encryption Desktop, you must disable CoreStorage. In addition, in order to prevent future issues, including issues with an encrypted disk, do not re-enable CoreStorage after Encryption Desktop has been installed and your drive has been encrypted. Failure to do so could result in data that cannot be recovered. This issue will be resolved in a future release of the product. [3653114]
所以目前安裝PGP於10.10之前需要先做以下動作
1. 先開啟terminal視窗
下指令: diskutil list查詢目前的情況
10.10版本的預設值會開啟CoreStorage

2. 輸入指令轉換格式:diskutil cs revert / (請注意revert後需要加一個空格再打/)
接著下diskutil list檢查一次格式
Hdd將會轉換回App_HFS,之後就可以正常安裝


![clip_image003[4]](http://www.wellife.com.tw/symantec/wp-content/uploads/sites/4/2014/11/clip_image0034.png "clip_image003[4]")
![clip_image004[4]](http://www.wellife.com.tw/symantec/wp-content/uploads/sites/4/2014/11/clip_image0044.png "clip_image004[4]")
![clip_image005[4]](http://www.wellife.com.tw/symantec/wp-content/uploads/sites/4/2014/11/clip_image0054.png "clip_image005[4]")


![clip_image005[1]](http://www.wellife.com.tw/symantec/wp-content/uploads/sites/4/2014/07/clip_image00511.png "clip_image005[1]")
![clip_image007[1]](http://www.wellife.com.tw/symantec/wp-content/uploads/sites/4/2014/07/clip_image00711.jpg "clip_image007[1]")


